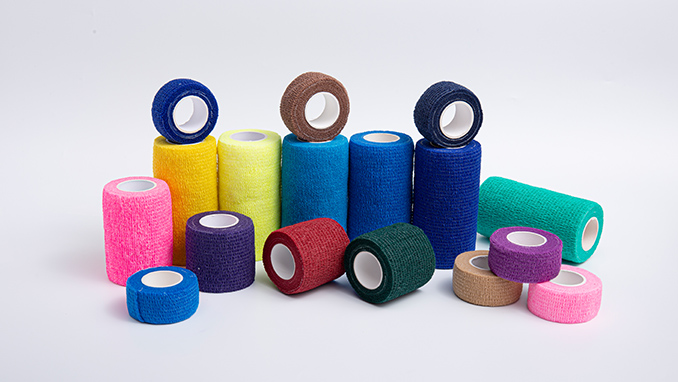
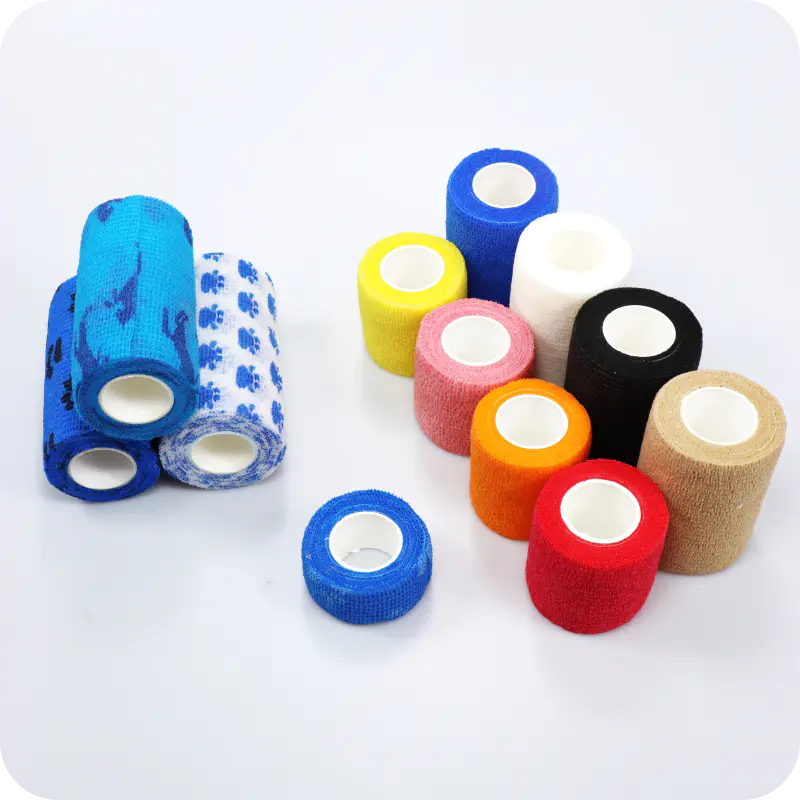
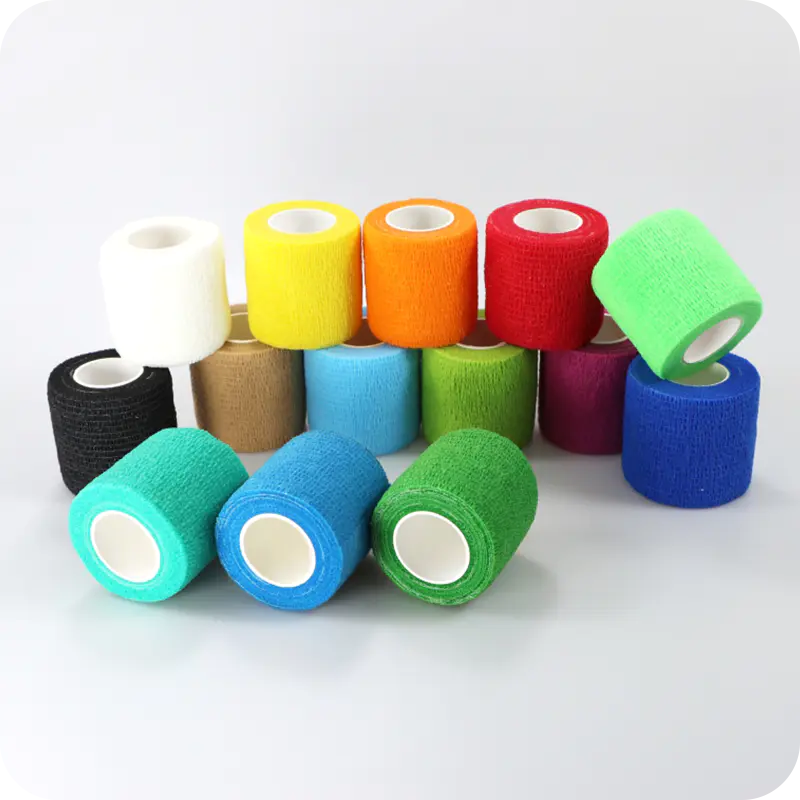
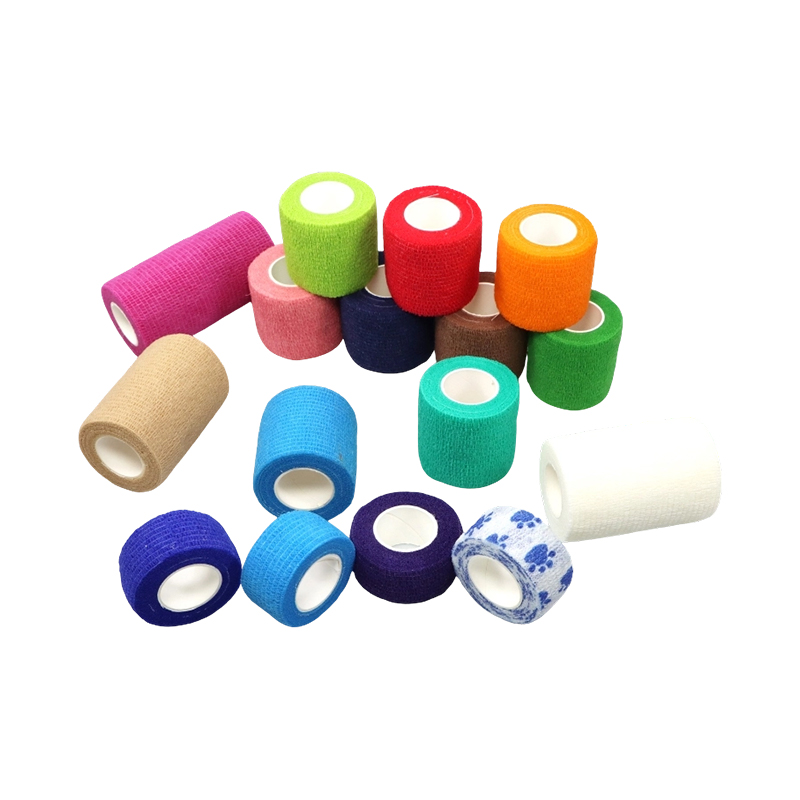
Los vendajes elásticos autoadhesivos son apósitos médicos autoadhesivos y elásticos que se utilizan principalmente para vendar y proteger heridas, promoviendo la cicatrización de heridas. Sus funciones principales incluyen asegurar y proteger heridas, prevenir la intrusión bacteriana y promover la cicatrización de heridas. Los vendajes elásticos autoadhesivos suelen estar hechos de materiales elásticos y adhesivos médicos de alta calidad. Por lo general, constan de una estructura de múltiples capas, que incluye una capa de apósito que entra en contacto con la herida, una capa elástica intermedia y una capa protectora exterior.
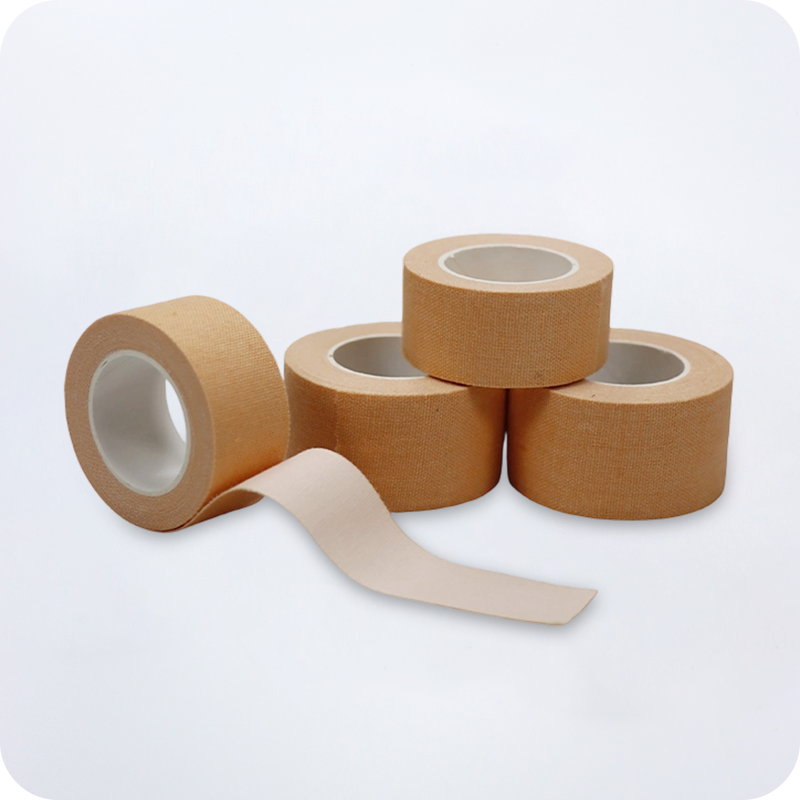
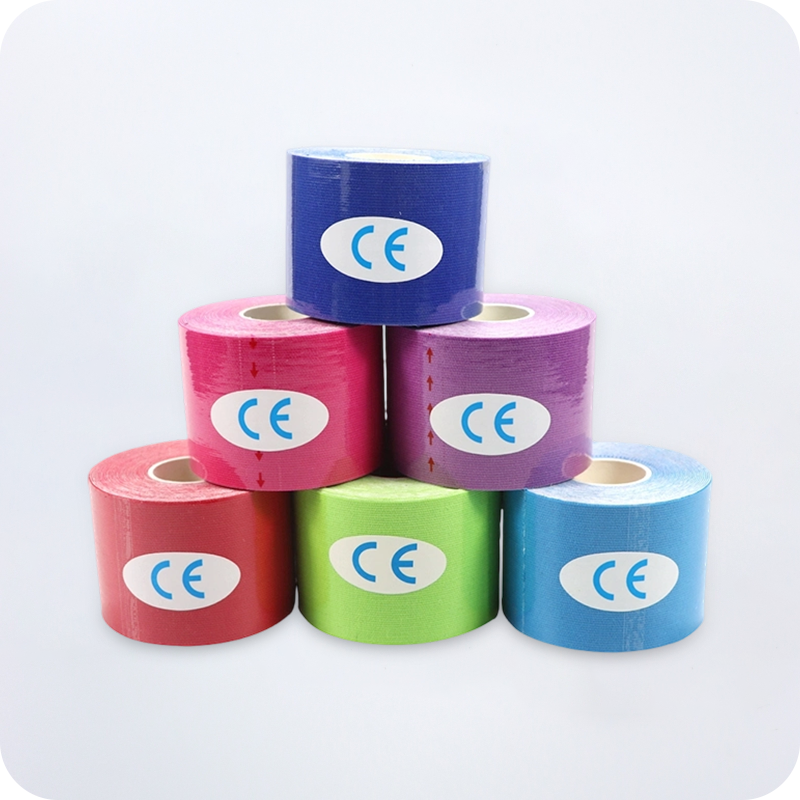
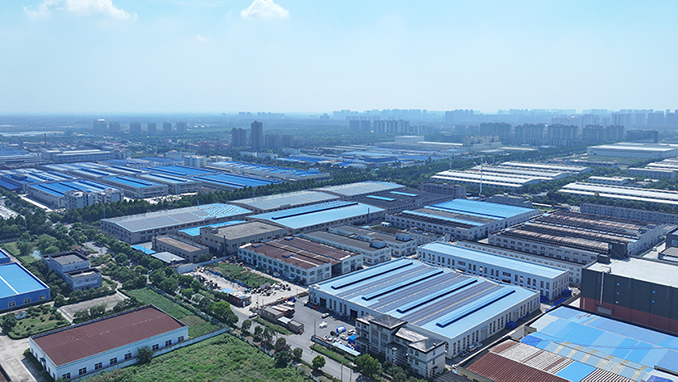
Shanghai Qinghong Healthcare Products Co., Ltd., ubicada en el distrito de Jiading, Shanghai, es un fabricante y proveedor líder especializado en vendajes elásticos y cintas deportivas de alta calidad. Jiangsu Qinghong Healthcare Products Co., Ltd., con sede en la ciudad de Suqian, provincia de Jiangsu, se ha comprometido a proporcionar vendajes autoadhesivos de alta calidad, cinta kinesiológica y cinta deportiva de algodón a clientes de todo el mundo desde su creación en 2018. Aprovechando sólidas capacidades de investigación y desarrollo, un estricto control de calidad y un servicio centrado en el cliente, nos hemos convertido en un socio confiable en la industria.
Empoderar a los atletas para que superen con confianza sus límites
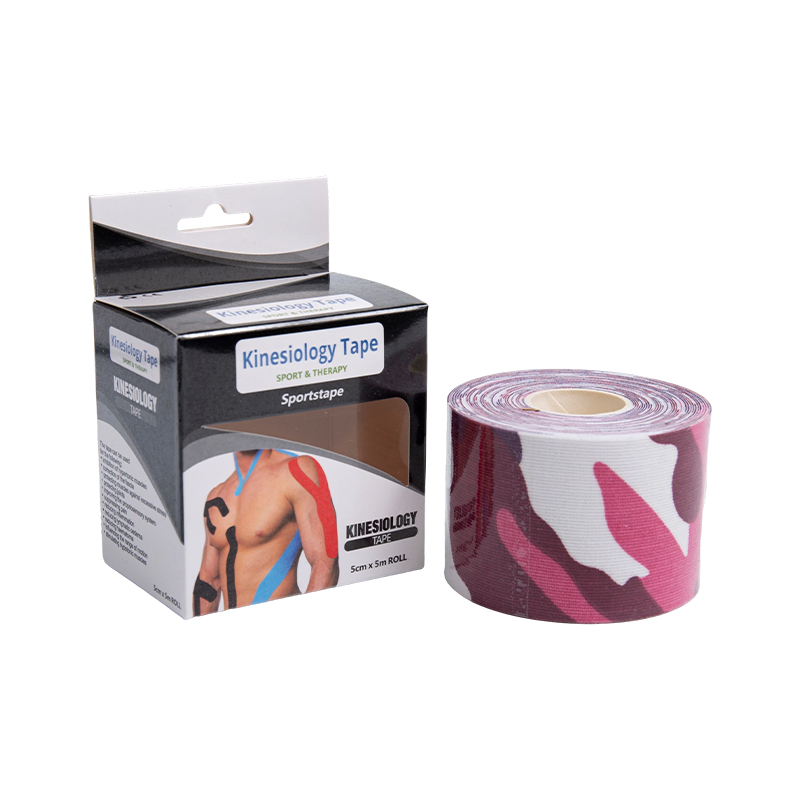
Nuestra cinta de kinesiología brinda soporte dinámico, lo que permite un movimiento libre sin restricciones y al mismo tiempo mejora eficazmente la función muscular y la circulación sanguínea. Nuestros vendajes deportivos, por otro lado, proporcionan una fijación confiable y estabilidad para las articulaciones durante actividades de alta intensidad, previniendo eficazmente esguinces y distensiones. Desde entusiastas del deporte hasta atletas profesionales, ofrecemos protección profesional confiable tanto para entrenamientos como para competiciones.
¡No dudes en contactarnos cuando nos necesites! Ya sea que quieras
convertirse en nuestro socio o necesitar nuestra orientación o apoyo profesional
En la selección de productos y resolución de problemas, nuestro equipo profesional es
Siempre dispuesto a ayudarte.
Cómo aplicar cinta de kinesiología para aliviar el dolor del omóplato y la escápula
Fundamentos anatómicos del malestar escapular y del omóplato
La cintura escapular humana es un sistema mecánico increíblemente complejo. En el centro de esta red se encuentra la escápula, comúnmente conocida como omóplato. A diferencia de otras articulaciones importantes que dependen principalmente de cavidades profundas de hueso a hueso para su estabilidad, la escápula está suspendida de la pared posterior de la caja torácica casi por completo por una intrincada red de tejidos musculares y fasciales. Esta configuración única, a menudo denominada articulación funcional, otorga a la extremidad superior una extraordinaria amplitud de movimiento. Sin embargo, también deja a la región altamente susceptible a fallas biomecánicas, microtraumatismos y desequilibrios funcionales crónicos.
Cuando estos músculos estabilizadores experimentan fatiga, tensión aguda o deformación postural prolongada, la incomodidad resultante alrededor del omóplato puede volverse profundamente debilitante. Para los atletas que realizan movimientos repetitivos por encima de la cabeza, como los jugadores de voleibol, los nadadores o los lanzadores de jabalina, así como para los profesionales de oficina atados a estaciones de trabajo con computadoras durante largos períodos, esta región es una fuente frecuente de estrés persistente. Para controlar estos problemas musculoesqueléticos comunes, utilizar cinta de kinesiología ha surgido como una modalidad no invasiva excepcionalmente efectiva para brindar soporte mecánico inmediato, mejorar la conciencia propioceptiva y facilitar el alivio del dolor localizado.
Cómo interactúa la cinta de kinesiología con la mecánica escapular
para entender como cinta de kinesiología ayuda a resolver el dolor del omóplato y la escápula, hay que superar la idea errónea de que la cinta deportiva elástica simplemente une una articulación en su lugar como la cinta médica rígida tradicional. El mecanismo terapéutico de la cinta elástica de alta calidad se basa en sus propiedades físicas únicas. Está diseñado con una elasticidad que imita fielmente la de la piel humana, lo que le permite estirarse longitudinalmente mientras mantiene la tensión lateral estándar. Cuando se aplica correctamente sobre la piel que recubre la musculatura escapular, actúa a través de varias vías fisiológicas distintas.
Retroalimentación neurosensorial
La acción elástica de retroceso de la cinta crea una fuerza de tracción suave y continua sobre la capa epidérmica. Esta estimulación activa los mecanorreceptores subcutáneos, enviando un flujo constante de información sensorial al sistema nervioso central. Esta retroalimentación propioceptiva intensificada recuerda continuamente al cerebro el posicionamiento espacial del omóplato, fomentando correcciones posturales automáticas y desalentando patrones de movimiento dañinos.
Descompresión microscópica
Cuando se aplica con distintos grados de tensión sobre los tejidos específicos, la cinta forma circunvoluciones u ondas microscópicas en la piel. Esta sutil acción de elevación descomprime el espacio intersticial subyacente entre la piel, las capas fasciales y los músculos profundos. En consecuencia, se reduce la presión sobre los receptores del dolor localizados, mientras que mejora la circulación sanguínea y el drenaje linfático, acelerando la eliminación de subproductos inflamatorios.
Además, al alterar estratégicamente la dirección y la tensión de la aplicación de la cinta, los médicos y atletas pueden facilitar grupos de músculos debilitados e hipoactivos o inhibir tejidos hipertónicos e hiperactivos. Esta doble capacidad hace que la cinta elástica sea una herramienta invaluable para restaurar el ritmo escapulohumeral adecuado, que es el movimiento coordinado de la escápula en relación con el húmero durante la elevación del brazo.
Pautas esenciales previas a la aplicación para una máxima adherencia
Lograr resultados terapéuticos óptimos requiere una preparación adecuada tanto de los materiales como de la interfaz cutánea. Incluso la técnica de vendaje más sólida desde el punto de vista estructural fallará prematuramente si se pasan por alto las condiciones subyacentes de la piel o la mecánica de aplicación. Para asegurar una adhesión duradera y prevenir la irritación de la piel, se deben seguir varios pasos clave antes de aplicar la primera tira de cinta.
Limpieza y Desengrase de la Piel: El área objetivo debe estar completamente libre de sudor, aceites corporales, humectantes y protectores solares. Limpie vigorosamente toda la región superior de la espalda y los hombros con toallitas con alcohol isopropílico. Deje que la piel se seque completamente antes de aplicar la cinta.
Manejo del vello corporal: El vello corporal denso crea un espacio físico entre la capa adhesiva acrílica de la cinta y la epidermis, lo que reduce significativamente la fuerza de unión y limita la activación neurosensorial. Para áreas con vello grueso, recorte o afeite la región cercana a la piel al menos varias horas antes de la aplicación para minimizar las microabrasiones.
Redondear los bordes de la cinta: Las esquinas rectas y afiladas de las tiras de cinta cortadas tienden a engancharse en las fibras de la ropa, lo que hace que la cinta se despegue antes de tiempo. Utilice siempre tijeras médicas afiladas para cortar y redondear cada esquina de las tiras de cinta en curvas suaves antes de la aplicación.
Evitar tensiones en los anclajes: Las partes inicial y final de cualquier tira de cinta, normalmente las primeras y últimas dos pulgadas, se denominan anclajes. Estas zonas deben aplicarse siempre sin estiramiento. Aplicar tensión en los extremos del anclaje tira excesivamente de las delicadas capas epidérmicas, lo que provoca ampollas por fricción y descamación prematura.
Además, es fundamental gestionar la activación térmica del adhesivo. El adhesivo acrílico de grado médico que se utiliza en la cinta elástica es sensible a la presión y al calor. Una vez colocada la tira sobre la piel, frote su superficie enérgicamente con el papel suave o con la mano. El calor por fricción generado activa la unión adhesiva, asegurando que resista los movimientos diarios y las lluvias.
Técnicas de vendaje paso a paso para soporte escapular
Diferentes problemas estructurales alrededor del omóplato requieren configuraciones de cinta específicas. A continuación se presentan tres métodos de aplicación detallados, paso a paso, diseñados para apuntar a áreas funcionales específicas de la cintura escapular posterior. Estas técnicas se pueden adaptar en función de si el objetivo principal es la activación muscular, el reentrenamiento postural o la descarga mecánica.
Método 1: Corrección postural y soporte romboide (la combinación Y-Strip e I-Strip)
Esta configuración se centra en reducir una postura prolongada y redondeada del hombro mientras apoya los músculos romboides mayores y menores, que empujan la escápula hacia la columna. Es muy eficaz para personas que sufren de fatiga en la parte media de la espalda y sensación de ardor entre los omóplatos.
Paso 1
Coloque al individuo en una postura de postura corregida con la columna recta y los hombros ligeramente retraídos. Mida y corte una tira primaria de cinta lo suficientemente larga como para abarcar desde el borde medial de la escápula hasta la columna, junto con una tira secundaria de estabilización mecánica.
Paso 2
Ancle las primeras dos pulgadas de la tira de cinta primaria sobre el borde lateral del omóplato cerca de la estructura deltoides posterior, asegurándose de que este anclaje inicial no tenga tensión.
Paso 3
Indique al individuo que mueva el brazo sobre el pecho para colocar los músculos romboides en un estiramiento estructural completo. Guíe la cinta medialmente hacia las apófisis espinosas, aplicando una tensión moderada de aproximadamente 25% a 50% a lo largo del cuerpo de trabajo de la tira.
Paso 4
Coloque los últimos cinco centímetros de la tira sobre la piel paralela a la columna sin ninguna tensión. Frote toda la superficie firmemente para activar el adhesivo.
Método 2: Descompresión del trapecio superior y del elevador de la escápula
Esta aplicación se centra en aliviar la tensión en los músculos hipertónicos que elevan la escápula. Es particularmente útil para personas cuyos omóplatos están anormalmente altos o inclinados debido al estrés diario, compensación estructural o movimientos repetitivos por encima de la cabeza.
Paso 1
Haga que el individuo se siente cómodamente con la cabeza inclinada lateralmente lejos del lado doloroso, mientras presiona suavemente el omóplato hacia abajo para maximizar el estiramiento estructural de las fibras del trapecio superior.
Paso 2
Coloque una tira de anclaje de tensión cero en el punto de inserción del trapecio superior, ubicado cerca del tercio lateral de la clavícula y el acromion del hombro.
Paso 3
Guíe el cuerpo de la cinta hacia arriba a lo largo de la cara lateral del cuello hacia las vértebras cervicales superiores, aplicando una ligera tensión de aproximadamente entre el 15% y el 25%.
Paso 4
Aplique las dos pulgadas restantes de la tira de cinta justo debajo de la línea del cabello sin tensión. Frote bien la tira para establecer una unión duradera y confiable.
Método 3: Descarga mecánica para el manguito rotador y la estabilidad escapular inferior
A menudo utilizada por practicantes de deportes competitivos, esta técnica proporciona estabilidad a los músculos del manguito rotador posterior mientras ayuda al trapecio inferior con la rotación escapular hacia arriba durante los movimientos por encima de la cabeza.
Paso 1
Coloque el brazo en una postura neutral con el codo flexionado a 90 grados. Asegure una tira de anclaje de base directamente en la cara lateral del húmero, justo sobre el punto de inserción del grupo de músculos deltoides.
Paso 2
Haga que el individuo cruce el brazo sobre el abdomen y gire el hombro hacia afuera para estirar la cápsula articular posterior. Pase la cinta hacia arriba y hacia atrás sobre las zonas del infraespinoso y redondo menor, usando una tensión del 50%.
Paso 3
Continúe pasando la tira de cinta sobre el ángulo inferior del omóplato, curvándola hacia las vértebras torácicas inferiores para sostener las fibras del trapecio inferior.
Paso 4
Coloque la sección de anclaje final limpiamente a lo largo de la columna sin estirarla. Frote bien toda la tira para asegurar la aplicación.
Visualización de la aplicación de vendaje escapular completa
Para lograr el mayor grado de soporte estructural, puede resultar útil ver una solicitud profesional. La siguiente imagen muestra una configuración precisa y limpia de múltiples tiras que integra la descarga mecánica en el deltoides posterior, la parte superior de la espalda y los bordes escapulares mediales, lo que garantiza la estabilización estructural sin restringir el rango natural de movimiento de la articulación.
Protocolos de tensión y variaciones mecánicas.
Variar la cantidad de tensión aplicada al cuerpo de trabajo de la cinta elástica permite lograr efectos terapéuticos específicos. La aplicación de cinta con mucha tensión crea un tirón estructural firme que limita mecánicamente el movimiento excesivo. Por el contrario, una tensión más ligera se centra en estimular los mecanorreceptores dérmicos para mejorar la propiocepción sin restringir el rango articular. La elección del protocolo de tensión adecuado depende de la presentación clínica específica y de los objetivos funcionales.
Objetivo de grabación
Musculatura objetivo
Tensión recomendada
Objetivo fisiológico primario
Realineación postural
romboides & Middle Trapezius
25% a 50% de tensión
Promueve la retracción escapular y contrarresta los hombros redondeados.
Descompresión muscular
Trapecio superior & Levator Scapulae
15% a 25% de tensión
Levanta las capas epidérmicas para mejorar el flujo de líquido y reducir el dolor local.
Estabilización conjunta
Deltoides posterior y manguito rotador
50% a 75% de tensión
Proporciona soporte mecánico durante movimientos dinámicos y de alta velocidad.
Aclaramiento linfático
Espacios intersticiales periescapulares
0% a 15% de tensión
Crea arrugas superficiales en la piel para facilitar el drenaje de la hinchazón.
Al ejecutar estas estrategias, recuerde que la tensión excesiva no es inherentemente superior. Aplicar demasiado estiramiento puede abrumar la elasticidad natural de la piel, provocando descamación prematura, irritación de la piel o restricción de movimientos. Para el malestar crónico y prolongado, una tensión más ligera durante un período prolongado a menudo produce resultados terapéuticos más sostenibles que las configuraciones pesadas y agresivas.
Criterios de uso seguro y retirada de cinta dermatológica
La eficacia clínica de cinta de kinesiología depende de su capacidad para mantener una tensión elástica constante durante varios días consecutivos. Las cintas de alta calidad están diseñadas para resistir la ducha, la natación y las sesiones de entrenamiento de alta intensidad. Sin embargo, proteger la salud de la piel requiere seguir protocolos adecuados de uso y extracción.
Nota dermatológica crucial: Nunca use una sola configuración de cinta durante más de tres a cinco días consecutivos. Con el tiempo, las fibras elásticas pierden su resiliencia, lo que reduce la eficacia terapéutica. El contacto prolongado también puede atrapar el sudor y la humedad ambiental debajo, aumentando el riesgo de maceración e irritación de la piel.
Al retirar la cinta, nunca la rasgue ni la retire de la piel rápidamente, ya que esto puede rasgar las capas epidérmicas. En su lugar, siga estos pasos para una extracción segura y sin dolor:
Saturar la tira: Remoje bien las tiras de cinta en aceite mineral, aceite para bebés o aceite de oliva. Déjelo reposar durante aproximadamente diez minutos para romper la unión adhesiva acrílica de grado médico.
Apoya la piel: Presione firmemente la piel justo al lado del borde de la tira de cinta que está a punto de levantar.
Pelar paralelo a la piel: Enrolle o retire suavemente la cinta lentamente en la dirección del crecimiento natural del cabello. Mantenga la cinta plana y cerca de la superficie de la piel mientras la retira, en lugar de tirarla hacia arriba en ángulo recto.
Hidratar después: Lave el área con agua y jabón suave para eliminar cualquier aceite o adhesivo residual, luego aplique una crema hidratante calmante para ayudar a que la piel se recupere.
Preguntas frecuentes sobre el vendaje escapular
P1: ¿Puedo aplicar cinta de kinesiología en mi omóplato de forma independiente?
Si bien es posible preparar y aplicar cinta en ciertas áreas accesibles de la parte anterior del hombro de forma independiente, vendar la parte posterior del omóplato y la región superior de la espalda generalmente requiere ayuda. Es difícil lograr un estiramiento muscular correcto, una alineación precisa a lo largo del borde medial de la escápula y una aplicación de tensión sin arrugas por sí solo. Para obtener resultados óptimos, haga que un socio, entrenador o médico capacitado aplique la cinta siguiendo una guía de aplicación confiable.
P2: ¿Qué tan rápido debo esperar alivio de las molestias en el omóplato después de vendar?
Muchas personas informan una reducción inmediata del malestar localizado y una mejor sensación de estabilidad estructural poco después de la aplicación. Esta rápida respuesta se debe en gran medida a la retroalimentación neurosensorial inmediata y a la descompresión de los receptores del dolor. Para problemas estructurales más profundos o fatiga postural crónica, las mejoras estructurales y la recuperación de tejidos generalmente se desarrollan durante varios días de uso constante junto con ejercicios de fisioterapia específicos.
P3: ¿Qué debo hacer si siento picazón o enrojecimiento debajo de la cinta?
Si experimenta picazón persistente, ardor o enrojecimiento debajo o alrededor de la cinta, retire la aplicación inmediatamente. Si bien las cintas deportivas elásticas de alta calidad son hipoalergénicas y no contienen látex, aún pueden aparecer sensibilidades cutáneas individuales. Estas reacciones pueden deberse a la aplicación de una tensión excesiva a los anclajes, a una irritación subyacente de la piel o a la acumulación de calor y sudor debajo de la capa adhesiva. Deje que la piel se recupere por completo antes de intentar otra aplicación.
P4: ¿Es seguro ducharse o nadar mientras se usa una cinta periescapular?
Sí, las cintas elásticas de alta calidad están diseñadas con propiedades resistentes al agua que soportan sesiones estándar de ducha y natación. Después de la exposición al agua, seque la cinta dando golpecitos suaves con una toalla limpia; Evite frotarlo con fuerza, ya que la fricción puede levantar los bordes. No utilice un secador de pelo con temperatura caliente para secar la cinta, ya que el calor excesivo puede activar excesivamente el adhesivo acrílico, dificultando su eliminación y aumentando el riesgo de irritación de la piel.
P5: ¿En qué se diferencia la cinta de kinesiología de la cinta deportiva blanca tradicional?
La cinta deportiva blanca tradicional es rígida y no estirable, diseñada para restringir el movimiento de las articulaciones y bloquear una estructura en su lugar para evitar más lesiones. En contraste, cinta de kinesiología Es muy elástico y se flexiona dinámicamente con los movimientos del cuerpo. Apoya los músculos y las articulaciones, mejora la conciencia propioceptiva y mejora la circulación sin restringir su rango natural de movimiento.





 English
  русский
  Français
  Español
  عربى
عربى 

 ES
ES